Install Elasticsearch and Create Your First Index
On this page
What you'll set up
A local Elasticsearch node on port 9200, an index with documents in it, and your first search, using only curl or the Kibana Dev Tools console.
Step 1: run Elasticsearch with Docker or the tarball
With Docker (simplest for development):
docker run --name es -p 9200:9200 -m 2GB \
  -e "discovery.type=single-node" \
  -e "xpack.security.enabled=false" \
  docker.elastic.co/elasticsearch/elasticsearch:9.5.5
From the tarball (what this course's lab used), add to config/elasticsearch.yml:
cluster.name: course-lab
node.name: node-1
discovery.type: single-node
network.host: 127.0.0.1
xpack.security.enabled: false        # development only
and start it with a fixed heap: ES_JAVA_OPTS="-Xms1g -Xmx1g" bin/elasticsearch.
Elastic also provides curl -fsSL https://elastic.co/start-local | sh, which starts Elasticsearch and Kibana in Docker with security configured.
About security: since version 8, Elasticsearch enables authentication and TLS by default and prints a generated password on first start. Turning it off, as above, is only for a laptop; Day 26 covers turning it on properly.
Step 2: check the node and cluster health
curl -s localhost:9200{
"name" : "node-1",
"cluster_name" : "course-lab",
"version" : { "number" : "9.5.5", "lucene_version" : "10.5.1", ... },
"tagline" : "You Know, for Search"
}curl -s 'localhost:9200/_cluster/health?pretty'"status" : "green" means every shard is assigned (Day 2).
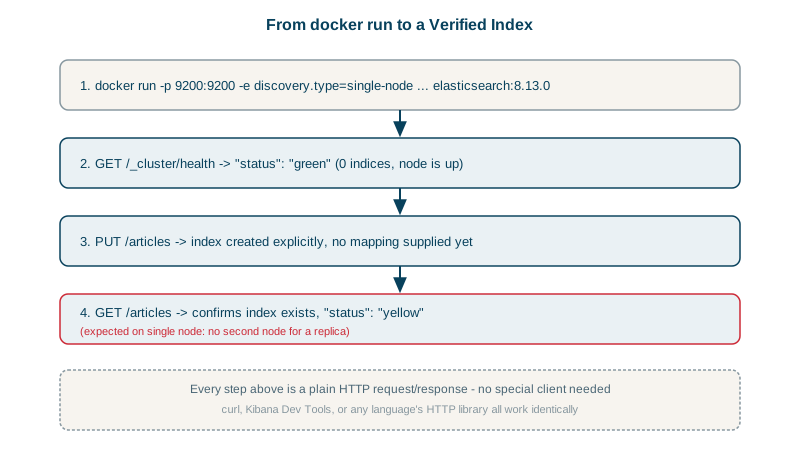
Step 3: create an index and add documents
Define fields up front (Day 5 explains why):
PUT /articles
{
  "mappings": {
    "properties": {
      "title":     { "type": "text" },
      "body":      { "type": "text" },
      "author":    { "type": "keyword" },
      "published": { "type": "date" },
      "views":     { "type": "integer" }
    }
  }
}{"acknowledged":true,"shards_acknowledged":true,"index":"articles"}Add documents with the bulk API (Day 7), from a newline-delimited JSON file:
curl -s -X POST 'localhost:9200/articles/_bulk?refresh=true' \
-H 'Content-Type: application/x-ndjson' --data-binary @articles.ndjsonerrors: False items: 7refresh=true makes the documents searchable immediately; normally they appear within a second.
Step 4: run your first search
GET /articles/_search
{ "query": { "match": { "body": "database performance" } } }
Four articles came back, ranked by relevance (Day 1 shows the results).
Common Elasticsearch setup problems
| Symptom | Fix |
|---|---|
Node won't start: max virtual memory areas vm.max_map_count is too low (Linux) | sysctl -w vm.max_map_count=262144 |
| Container exits with code 137 | Out of memory; give Docker more memory or lower the heap |
curl: (52) Empty reply | Security is on and expects HTTPS: use https:// with the generated CA and password |
| Cluster yellow on one node | Replicas can't be placed; expected locally, or set replicas to 0 for dev indices |
Check yourself
A fixed heap avoids resizing pauses; in production it's set to no more than half the machine's memory, leaving the rest for the filesystem cache.
Locally, only you can reach the node on localhost. In production, an open cluster lets anyone who can reach the port read, change or delete every index, which is how many public data leaks and ransom attacks happened.
It forces a refresh after the request, making the indexed documents searchable immediately instead of after the next periodic refresh, about one second by default. It's useful in tests but costly if used on every production write.
Lucene memory-maps many files. On Linux the limit must be at least 262144, or Elasticsearch refuses to start in production mode.
It shows the cluster status, node count and unassigned shards in one call, confirming the node formed a cluster and indices are usable. A red or yellow status right after setup usually points at a configuration problem worth fixing first.